Pure Ghee is an integral part of South Asian Household. Being from a Punjabi family, every dish my mother cooked was tempered or garnished with ghee. Be it a tadka on dal or a spoonful on hot simmering khichdi or a dash of it on chapattis. It was delicious – on, or in, anything, any time! My mother never bought store bought desi ghee and have always prepared fresh at home, with the butter she churned out of milk cream or yogurt. I’ve adopted the same approach in my kitchen and make fresh desi ghee. Even though, I don’t use ghee liberally as my mother used in her cooking, I do prefer the home-made kind over any store bought brand.
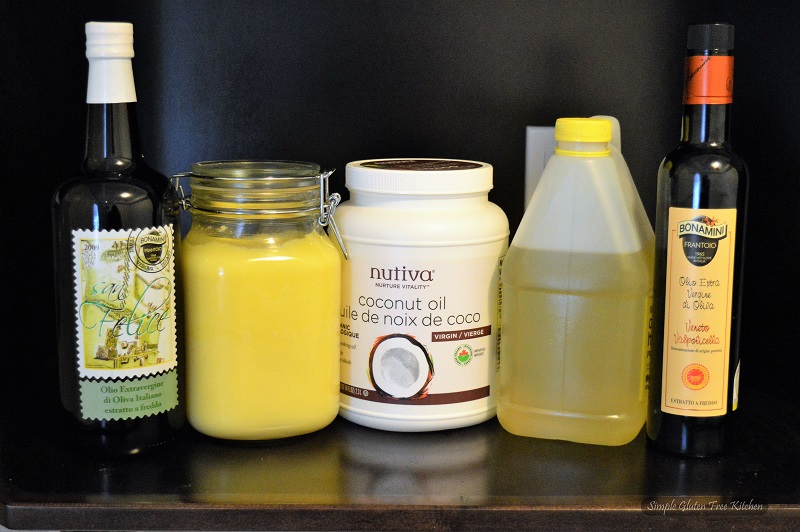
I usually stock 5 types of fat in my pantry and their use depends on what I am cooking. I mostly use milder olive oil for everyday cooking and, occasionally coconut oil. For salads and drizzling over bread I keep a good quality fruity extra virgin olive oil and for deep frying its always canola oil. To add more taste, aroma and flavor to dishes, it’s definitely desi ghee.
In India pure ghee is referred to as Desi ghee. Which means real ghee. It is prepared by heating butter gently on low heat until the whey separates from the milk solids to produce a golden clear fat. The milk solids that settles at the bottom of pan is not a waste. This is actually very delicious to scrape out and eat. I just love it. You can goggle recipes for ghee milk solids. Pure Ghee is very fragrant and gets rich nutty taste because of the toasted milk solids. In India ghee is prized as the finest cooking medium. Also to enjoy its aromatic flavor, it’s spread on flatbread, or just served alongside the meal. It has a very high smoking point as compared to most cooking oils. It will neither smoke nor burn when cooked but due to its lower melting point, it’s not the best fat to bake a cake with.
Desi Ghee’s quality can vary considerably depending on the quality of dairy product used. It is important to use cultured, unsalted organic butter or buy organic cream and churn your own butter before making ghee. Unlike butter, ghee does not need to be refrigerated and has a long shelf-life when kept in an air-tight container. But you can refrigerate if making in large amount and it will last up to a year.

Here are a few example of recipes where I have used ghee in place of regular oil: gajar ka halwa, urad dal pinni, parshad, gai lan saag, moong daal khichri, chickpea flour cookies, pithaud, sweet saffron rice, spice oatmeal porridge
I usually make desi ghee out of homemade churned butter but for today’s post I used avalon unsalted organic butter. Check out my post on how to make butter to make a truly homemade ghee out of delicious cream.
Caution: If you have a cholesterol problem, then use pure ghee in moderation, otherwise it actually protects against arteriosclerosis (thickening of the walls of the arteries) as long as the over all diet is healthy.
Pure Ghee is a variety of clarified butter. It is easily done by melting butter in a pot until the the milk solids caramelize on the bottom of the pot, flavouring the butterfat with their sweet, toasty, nutty, aroma.
Ingredients
- 1 or 2 pounds unsalted organic butter, roughly cubed
Instructions
- Heat the butter on medium-low heat in heavy bottom and high sides pot. Throughout the process, do not cover the pot with a lid as the water content in the butter needs to evaporate
- Continue to heat until it is completely melted and begins to bubble. Lower the heat and simmer for around 25 -30 minutes without stirring (you can check the transparency of the melted butter with a spoon but don't stir the bottom of the pan).
- During the cooking process white foam will appear on the surface, which slowly decrease and bubbles would emerge.
- As the bubbling increases, you’ll notice that the foam will become thinner and the bubbles will become bigger and clearer.
- Now the milk solids start to curdle and settles at the bottom. If any of the milk solids attach to the sides of the pot, just scrape to help sink to the bottom.
- When the bubbles forming at the top are crisp and clear and the melted butter has taken the lovely golden color, your ghee is ready.
- Take the pot off from heat at once as it can burn easily.
- Once cool, strain through a fine mesh strainer or cheesecloth. Scrape out the toasted bits from the bottom of the pot. You can eat it with spoon or spread on some bread.
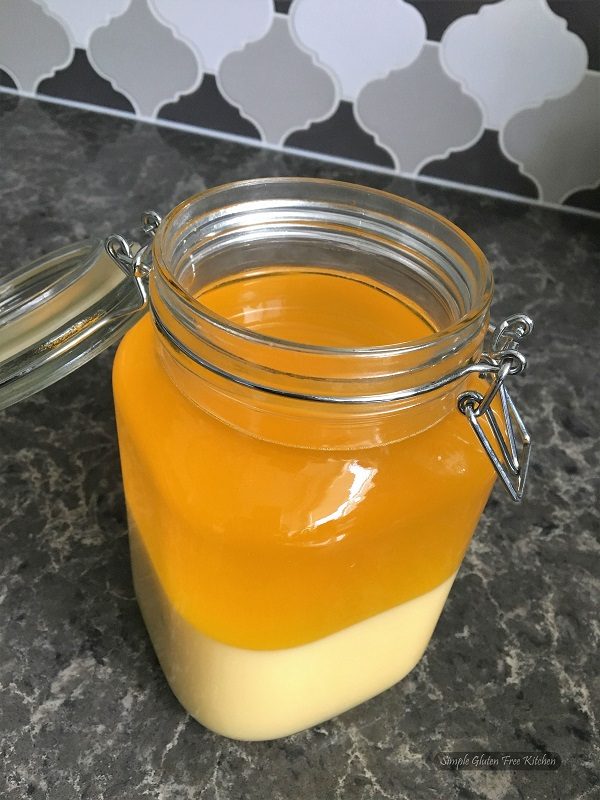
- Store Ghee at room temperature in a glass container or mason jar and use as needed.
Blackswan
Awesome tips, dear! Gotta try Ghee some day……… xoxo
Angie@Angie's Recipes
I too have to try this some day! Thanks for sharing, Balvinder.
puja
I love homemade ghee, my Mom in law always makes ghee at home… Lovely pics 🙂
Monica
Thank you for sharing your kitchen secrets. : ) Again, this is so interesting. I’ve obviously seen ghee sold in stores but I love learning about what desi ghee is and how you make it and use it. Sounds like a powerful way to add so much flavor to your cooking and I want to spread the solids onto a piece of toast right now!
Alida @My Little Italian Kitchen
Thank you for sharing this recipe, I have never made ghee and I would love to try as I like making Indian dishes at home from time to time.
Katerina
I have never made ghee and thanks for sharing this tried and true recipe!
allie
Hi Balvinder – I have always wondered how to make authentic ghee. I hear about people using it in recipes but I had no clue. I thought maybe it was just melted butter. Thank you for the education!!!
marcie
This is such a great DIY recipe. It sounds so easy and it makes so much sense to make it yourself — it’s nice that it keeps so long too!
Juliana
I have never tried making ghee and so thankful for your post and tips Balvinder…
Enjoy the rest of your week 🙂